***Originally posted on cregarstyle on December 14, 2014***
A few months back Aaron and I had a garage sale and coincidentally our across the street neighbors were having a garage sale as well! It was awesome because two sales on the same street really draws in the shoppers! After Aaron and I wrapped up our sale we picked up a few furniture pieces from our neighbor's sale for me to update over the following months. I found a farm table with a bench and a matching dresser and nightstand set.
I decided to start my refinishing with the farm table and bench seat. The table had years of gunk and grime on it as well as some areas that were missing chunks. In order to get it started out on the right foot I decided to clean my table and bench with TSP and then once they were dry I sanded them down.


The bench after the TSP cleaning.

The bench after the TSP cleaning and sanding.


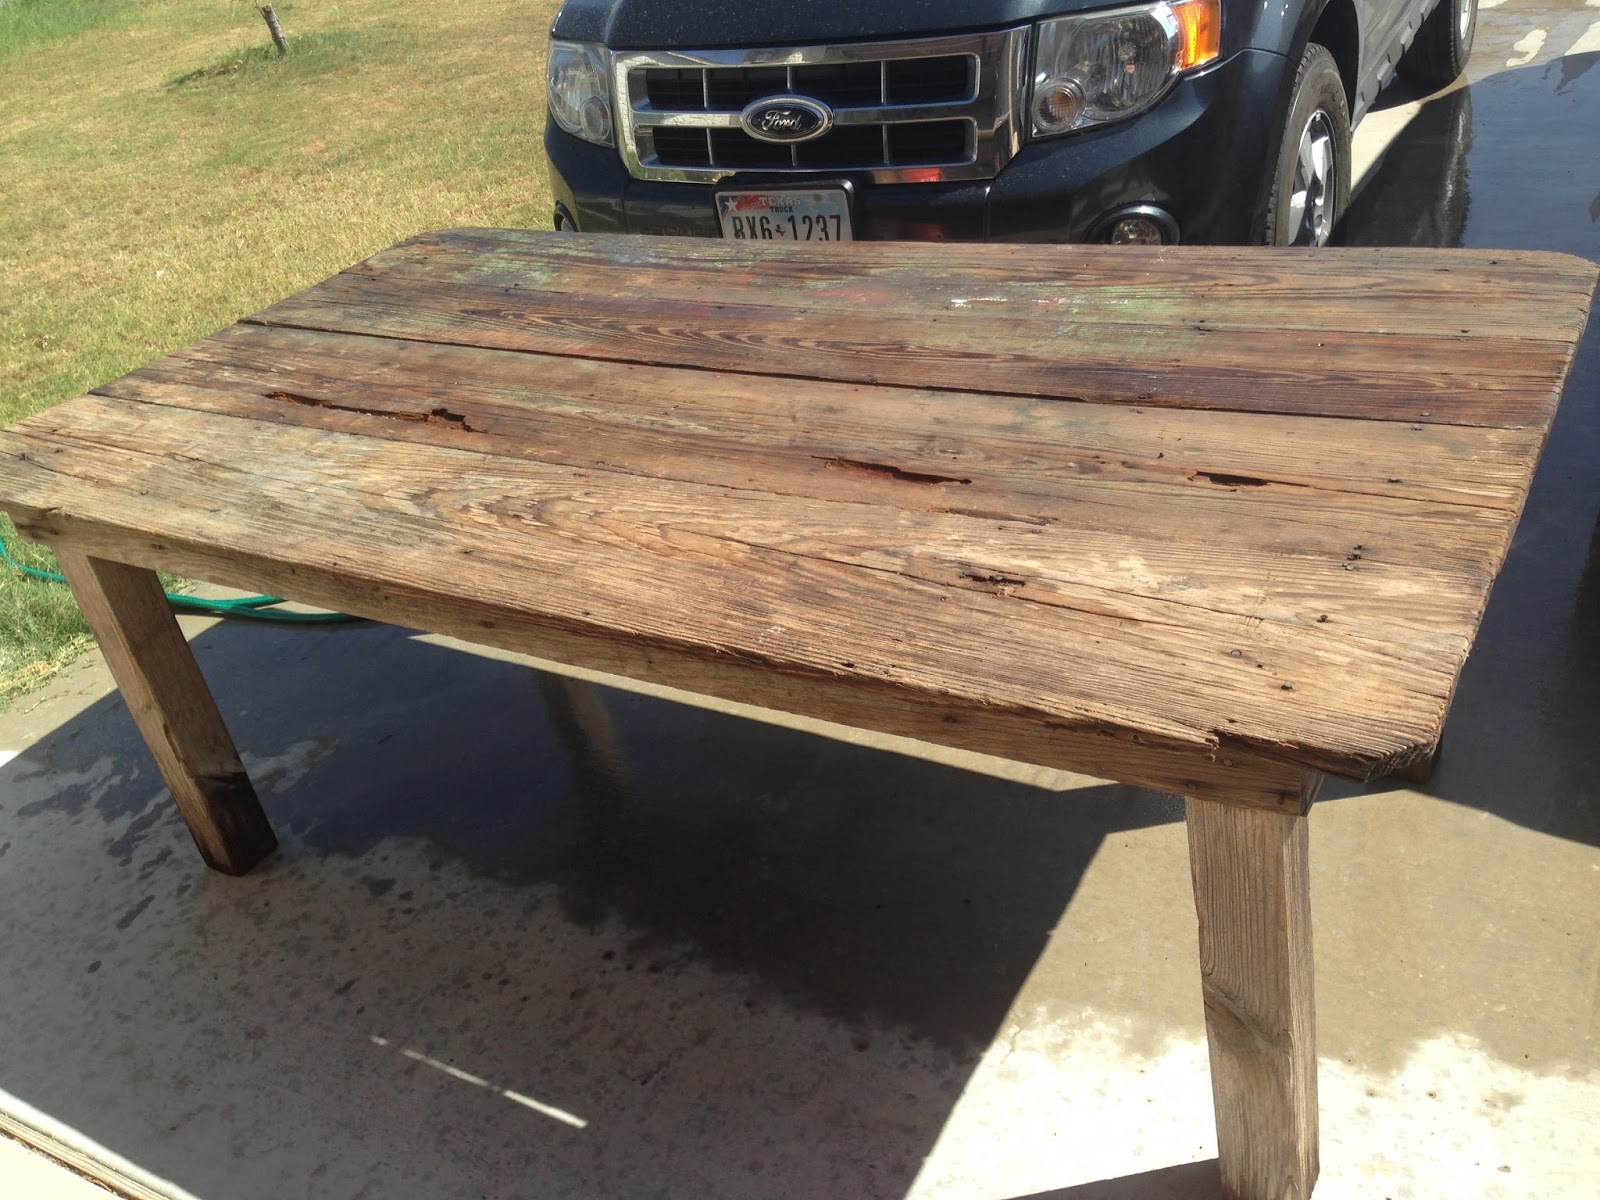
The table during the TSP cleaning.

Table after drying from the TSP cleaning.
The TSP took off a good amount of the grime, but the sanding is really what helped clear up the table top.


In hindsight I wish I had taken a photo of the top of the table after I had sanded it, but here is a look at the sides and legs of the table after the sanding. Next I filled the major cracks on the table top with wood filler.


I used a putty knife to fill the cracks and smooth them out. After applying the wood filler I had to let it sit for a day to completely harden before I sanded it smooth. Around this time I took a hiatus from refinishing the table so I worked on my bench inside where it was warm.


It took about 4 coats of the same Minwax Polyshades 2 Steps in 1 in the Espresso color with the Gloss finish that I used on the end table. I think it took so many coats because the wood had a fresh sand on it so it soaked up the finish. The bench was done and in the house a few months ago.


Then I went back to the table in mid-November. Here is the table with one coat of finish compared to how it looked after sanding it.


I put two full coats on the top of the table before I asked my super strong hubby to help me flip it over to do the legs and base of the table. I also picked up some metal caps that Aaron screwed into the bottom of the table legs to keep it stable. The legs and base of the table only got one coat of finish.


I am so in love with how the table turned out that I almost don't want to list it for sale. ALMOST! This is my first finished for the sole purpose of selling, so I have to see it through and sell it. If you live in Central Texas and want to buy it, let me know! Sorry, it's SOLD! Until then...

No comments:
Post a Comment